Setting Up CI/CD Pipelines with Jenkins: Streamlining Deployment


Introduction to CI/CD
CI/CD, which stands for continuous integration and continuous delivery/deployment, aims to streamline and accelerate the software development lifecycle.
Continuous integration (CI) refers to the practice of automatically and frequently integrating code changes into a shared source code repository. Continuous delivery and/or deployment (CD) is a 2 part process that refers to the integration, testing, and delivery of code changes. Continuous delivery stops short of automatic production deployment, while continuous deployment automatically releases the updates into the production environment.
CI/CD helps organizations avoid bugs and code failures while maintaining a continuous cycle of software development and updates.
As apps grow larger, features of CI/CD can help decrease complexity, increase efficiency, and streamline workflows.
Because CI/CD automates the manual human intervention traditionally needed to get new code from a commit into production, downtime is minimized and code releases happen faster. And with the ability to more quickly integrate updates and changes to code, user feedback can be incorporated more frequently and effectively, meaning positive outcomes for users and more satisfied customers overall.
Why Jenkins?
Jenkins is a platform for creating a Continuous Integration/Continuous Delivery (CI/CD) environment. The system offers many tools, languages, and automation tasks to aid in pipeline creation when developing and deploying programs.
Jenkins is an automation server written in Java that helps build, test, and continually deploy software. The open-source system is currently one of the leading automation servers.
In general, Jenkins provides support for:
Various version control tools such as Git.
Running Bash scripts and Windows batch files.
Building Ant and Apache Maven-based projects.
The main features of Jenkins are:
Easy installation. The Java-based program is autonomous and platform agnostic.
Straightforward to configure. The user-friendly web interface makes configuration an easy process.
Customizable with massive plugin availability. Currently, there are over 1700 available plugins to extend Jenkins' functionality. For any missing features, import additional external or custom-made plugins.
Open-source. Jenkins is completely open-source and free to use, making it a cheap technology to implement.
Benefits of Jenkins
Some benefits that come with Jenkins are:
Faster development cycle. Builds and tests on every commit create a fast-paced environment for getting rid of bugs. New features and releases reach the end-user faster and with fewer errors.
Less time to integrate code. Before Jenkins, code integration was a manual process, and debugging code was complex. Reaching a working version would require going through various commits and analyzing problems. When using Jenkins, integrating after each commit assures that the program functionality is always available and operational.
Quick feedback for developers. Whenever a build breaks, developers stay informed. The feedback system helps the dev team quickly address the issues instead of debugging numerous commits.
Automated pipeline workflow. Automated testing for each commit integrates into the Pipeline directly.
Installing Jenkins
Step 1: Go to “jenkins.io/download”
Step 2: Choose the Platform on which you are interested to install.
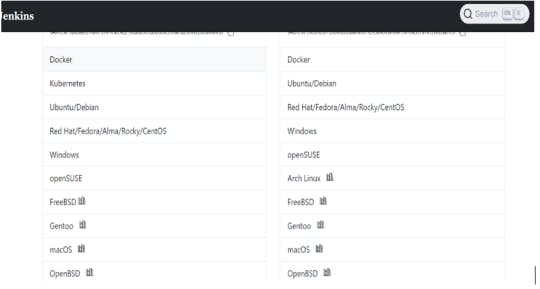
Step 3: For this we selected Windows, you can download either LTS or weekly releases. Click on Download for Windows 64-bit. File will download
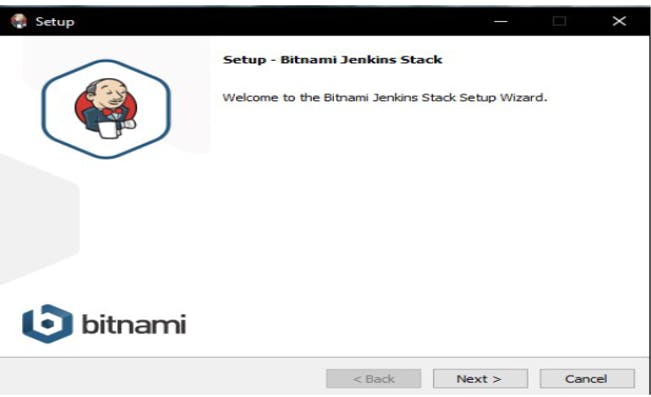
Step 4: Double-click on the file which is downloaded, this will lead to the below window. Click Next twice.
Step 5: Click next and give your name and mail details and click next
Step 6: Click on the Allow access button and Finish Button
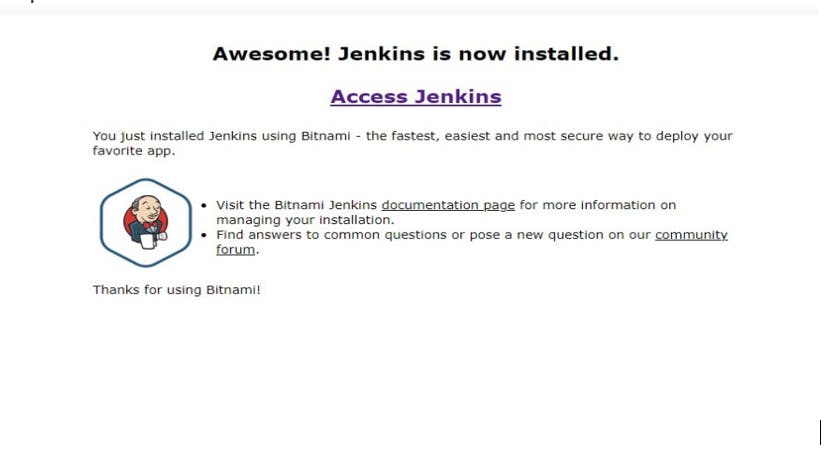
Step 7: Click on Access Jenkins
Setting up a Jenkins pipeline for automating builds and deployments.
Automated deployment is a practice that allows us to fully ship the code automatically or semi-automatically across various development stages ranging from initial development through production. Automated deployment makes out deployments more efficient and reliable. This functionality is automated as much as possible to ensure there is no broken functionality in the path that code takes from development to production.
Automated deployment requires something called a "deployment pipeline" - a process of taking code from a version control environment like GIT and making it available to the end-users automatically.
To achieve the automated deployment using Jenkins, we will need to follow the steps as mentioned below:
1. Set up a Continuous Integration server
Firstly choose an existing server like Jenkins.
Link to the source code from source control like GIT so that one can build the application. It will set up the first build.
Make sure every time a check-in happens into the source control, the build fires.
2. Set up test suites
- We need to set up a separate build for each test suit we add. Then we link each test suite to the builds. When the test suite executes after the build, we can see the errors as the problematic code will stop at the first test that has recognized it and does not proceed further.
3. Add a deployment step
- As a deployment step, we set a build that runs the script to deploy the application to a staging or testing environment on a Continuous Integration Server. But before this, ensure that the build runs only when all tests have passed.
Step 1: Go to Manage Jenkins and then Manage Plugins. Select/ choose the Available tab and search for the "Deploy to container" plugin.
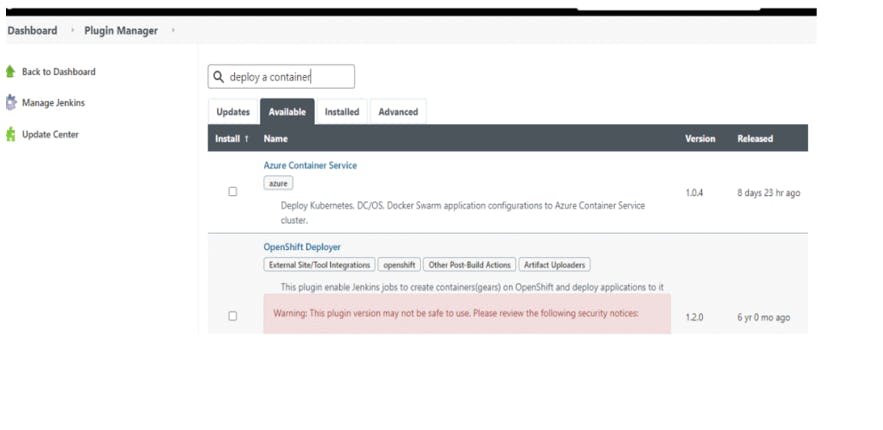
Here we see that the searched plugin is not available. If it was available, then we install it and click on Go back to the top page.
Now that it is not available, we again search it under the "Installed" tab. We can see the listed plugin below:

If the installation of the plugin does not finish, install it by following the on-screen instructions.
How to add deployment steps to Jenkins jobs?
Once the setup/ installation of the plugin is completed, we can then run the build by deploying the war/ear file to the container. For this, perform the following steps:
Step 1: Go to your created build project and click on the Configure option from the left side of the panel.
Step 2: The next step is to scroll down on the configuration page and click on the Add post-build action button. Select the Deploy war/ear to a container option.
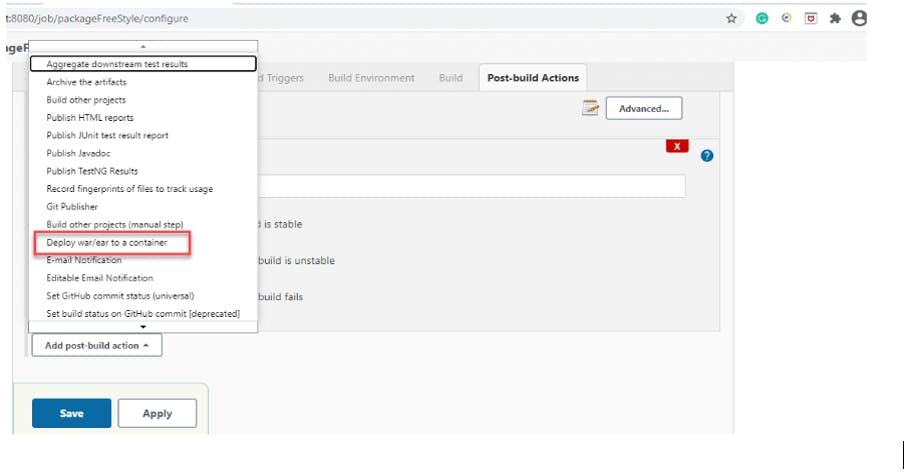
In the above screen, we select the "Deploy war/ear to a container" option and then click on the Save button.
Step 3: In the Deploy war/ear to a container section, we enter the server information on which we need to deploy the files. We can see it on the following screen.
Here along with other details, we select the appropriate container (Tomcat in the above screen) and then provide its credentials and URL.
Step 4: Click on the Save button.
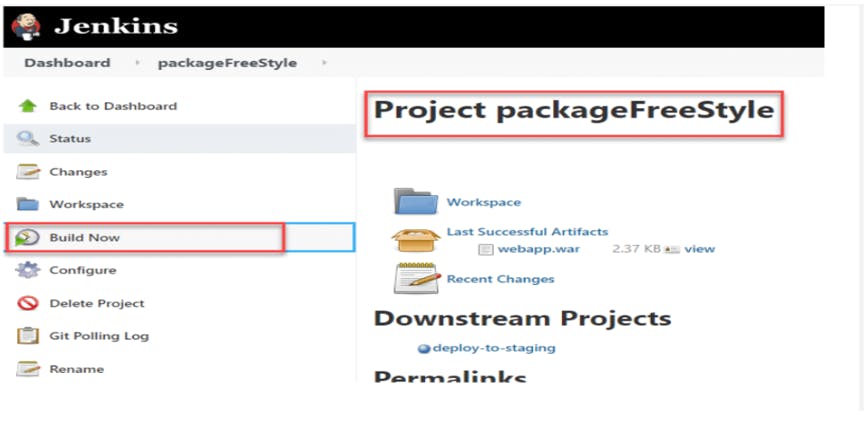
Step 5: Once everything finishes, we go to the first screen of the selected project and select Build Now. It is as below.
The above steps ensure that the container has all the required files after the successful build. So, as we saw, the automated deployment is one of the post-steps that will ensure that the build deploys on a targeted server once all the tasks/steps of the mentioned build are successful.
Jenkins and Git Integration
Step 1: GitHub plugin installation
The next step towards integrating your GitHub tests with Jenkins is the GitHub plugin installation. This is the part where the integration occurs. To install the plugin go to the dashboard and click on “Manage Jenkins -> Manage Plugins -> Available Plugins”. Try searching the “GitHub Plugin”, install it, and restart Jenkins(by closing the tab and opening it again)
Step 2: Jenkins job creation
Now you are ready to create your first Jenkins job. To create one click on “New Item” on your Jenkins dashboard, choose “Freestyle project”, give it a name and that’s it, the job is created! But the job is pretty much worthless if you don’t configure it accordingly right?
In the “General” section choose “GitHub project”. Under “Source Code Management” select “Git” and enter the repository URL where your automated tests are stored as well as the credentials(if needed) to access those tests. elect your preferred build triggers like:
- Build after the project is built
- Build periodically
- GitHub hook trigger
If you want you can skip this part and go straight to the build step where you can add a new one. For example, if your tests can be executed using the Windows terminal you can select “Add build step -> Execute Windows batch command” and then type in the command that will be executed once the job is started. You can also select various types of build environment-related configurations like:
- Deleting workspace before build
- Adding timestamps in the console output
- Terminate the build if it gets stuck
You can also add a post-build action like archiving the reports, sending email notifications of finished builds, adding a Git commit option, building other projects once this is done, etc.
Step 3: GitHub webhook
This part here is needed if you want Jenkins to be notified automatically when a change is made in your Git repository. What you need to do is you need to add a webhook in your Git repository. You can do that by navigating through “Settings” and clicking on “Webhooks”. Add a new webhook and provide the Jenkins URL and application/json as a content type. This way if you make changes to any of the files within this repository Jenkins will be notified and will trigger a new build.
Step 4: Run the Jenkins build
The final step is executing the tests through Jenkins to see that it works. Of course, you can either make a change to your Git repo or you can trigger a build manually right away. Let’s take a look at how to start a build manually in Jenkins.
Execute the GitHub tests with Jenkins
To start a new build just navigate to your project and click “Build Now”.
As you can see the build passed successfully and you can see the details of the execution once you select “Console Output”.